Well, I've managed to stick to my idea of doing weekly blog posts, but then again, I'm only a week in, so maybe that's not quite the achievement I thought it was when I started this sentence.[...]
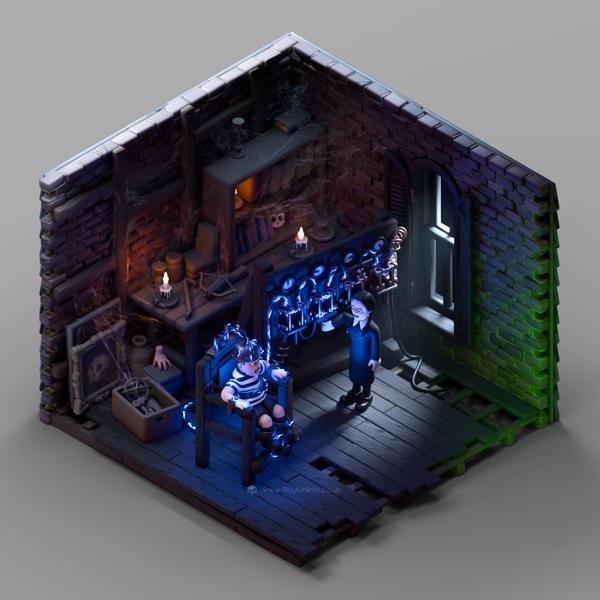
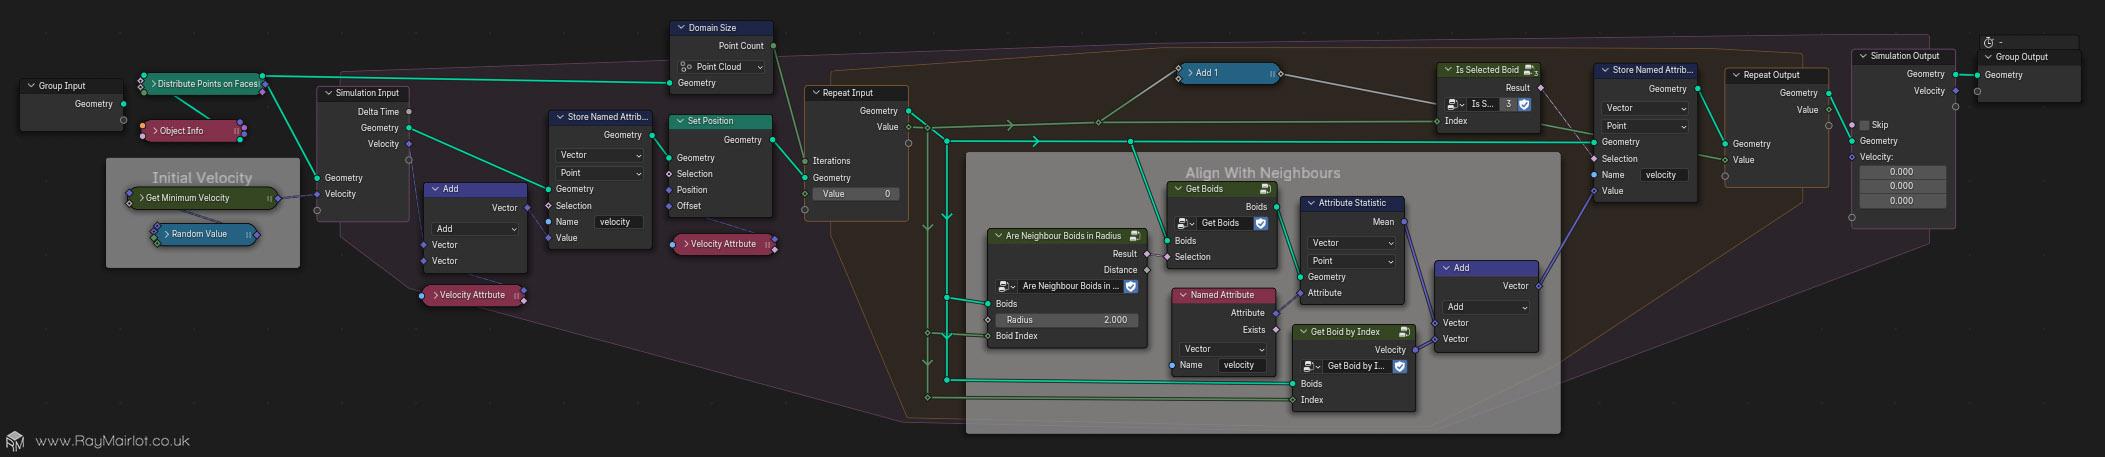
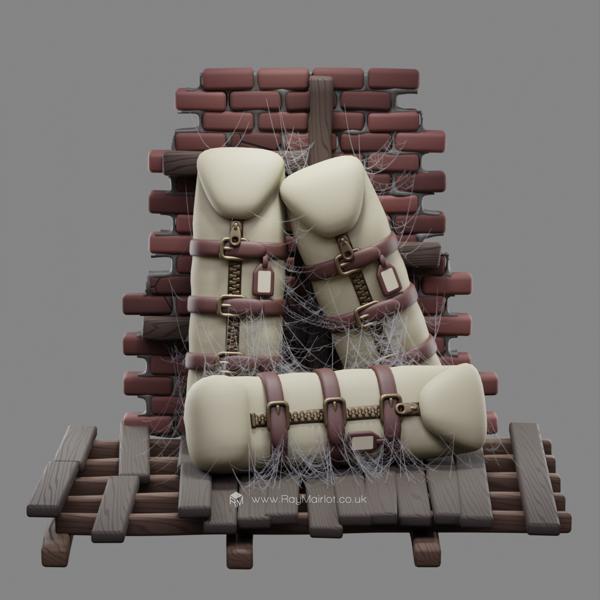
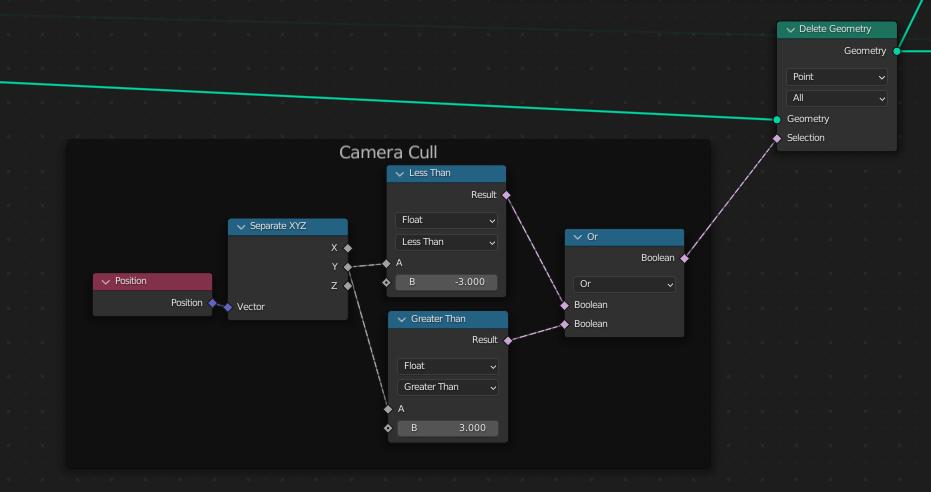
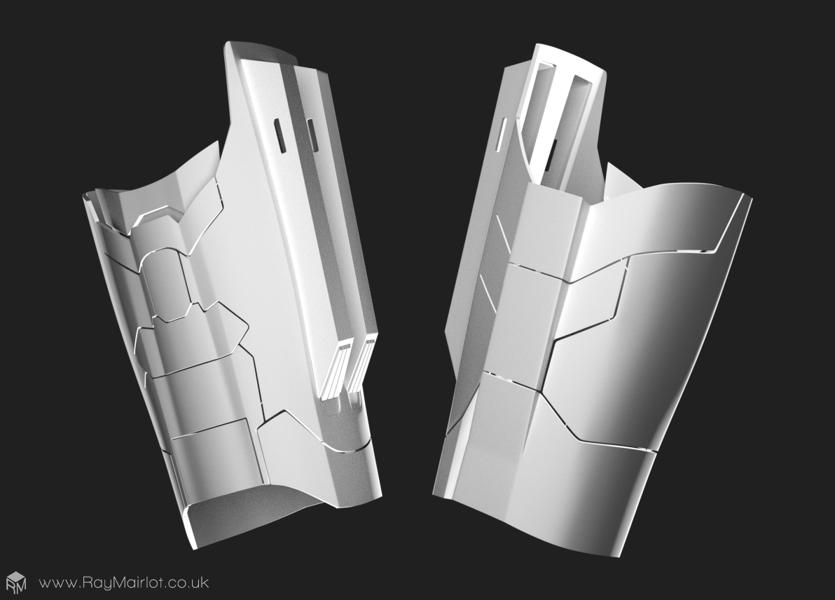
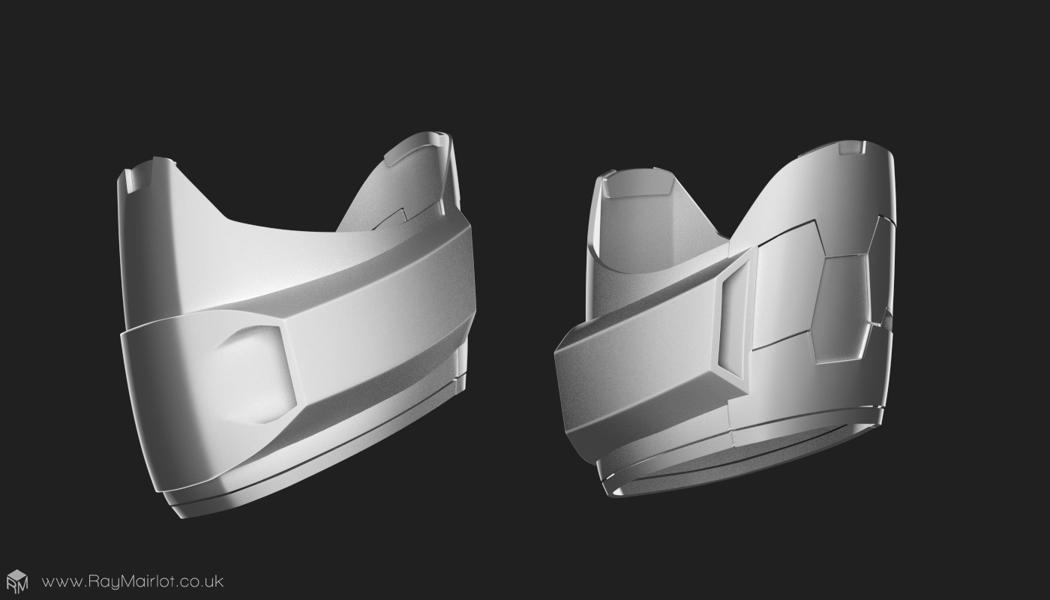
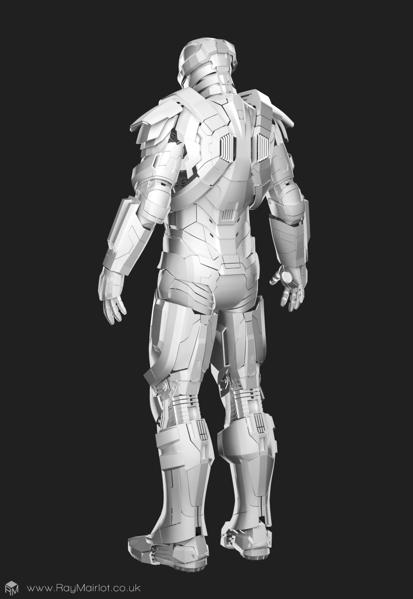
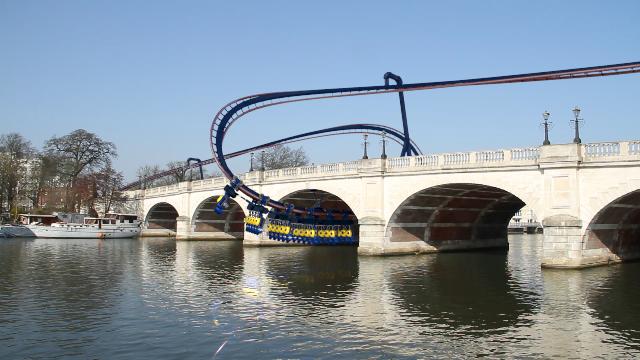
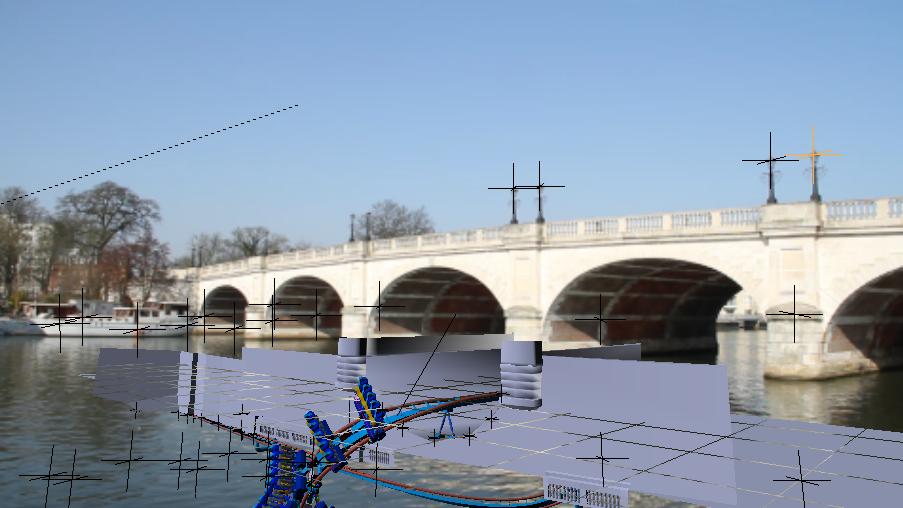
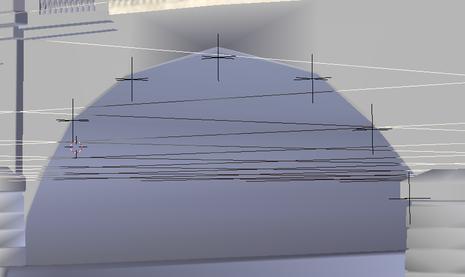
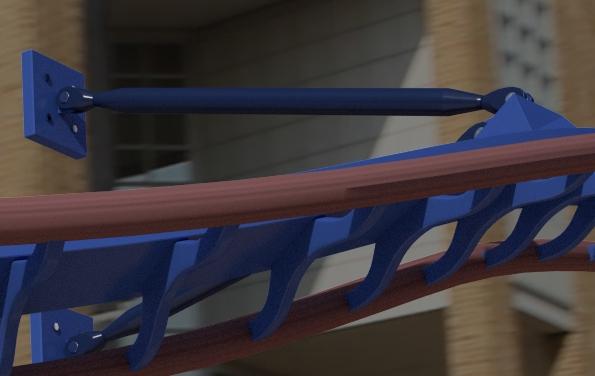
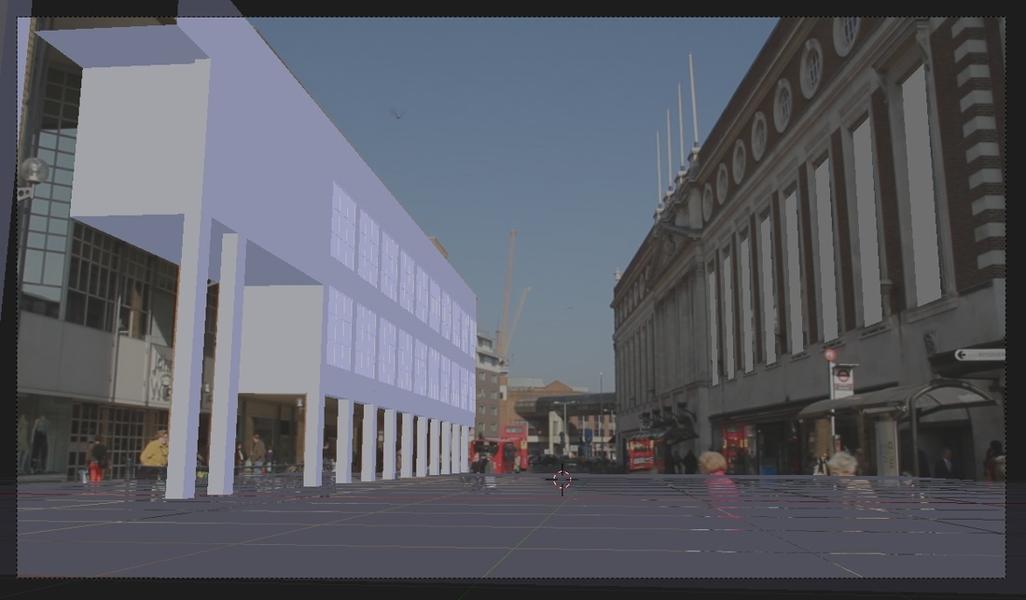
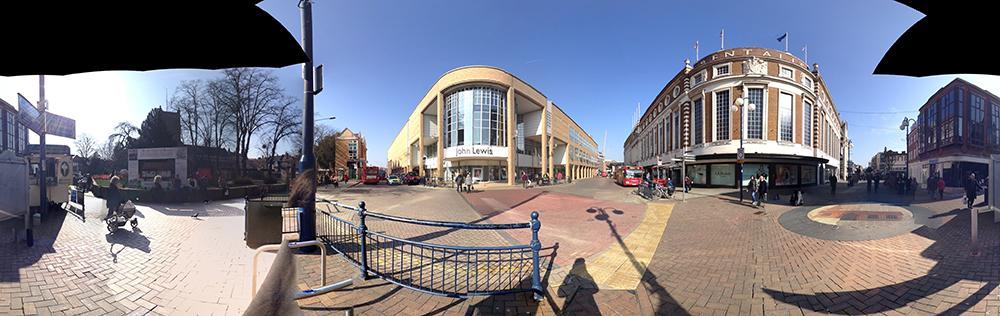
It's always a bit pretentious to say you've got a big project but can't talk about it, especially when that limitation is self-imposed, but if I'm going to get the most out of this project, it means working out how to reveal it best. Last week I mentioned that perhaps this would be the week I showed it to the world. Or at least, the small segment of the world that is interested in 3D. Interested in 3D and likely to see my post. Interested in 3D, likely to see my post and actually click on it. Interes...well you get the idea, it's niche: